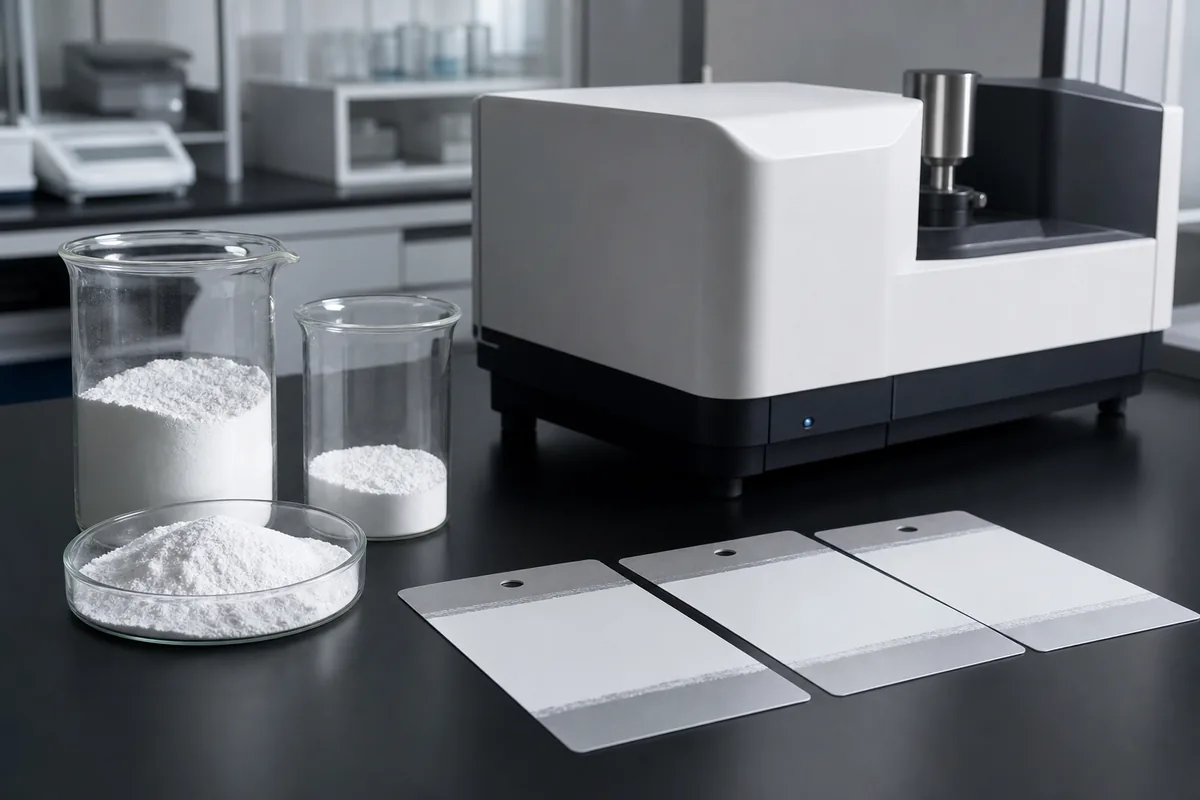
The high speed disperser tip speed you choose, together with how long you run, decides whether a silica matting agent ends up as individual particles doing their job at the film surface, or as a mix of seeds, foam and drifting gloss. Most matting grades need far less energy than a pigment grind: a moderate tip speed for a fixed, recorded time is usually enough. The difficulty is that "speed 3 for a while" does not transfer between a 50 mm lab blade and a 400 mm production blade. This article gives the formula, worked numbers, typical starting windows for each stage, how to set dispersion time, and how to scale settings from the lab to the plant.
It assumes you already know why matting silica is dispersed rather than milled. If not, start with our overview of dispersing silica matting agents without bead milling, then come back here for the numbers.
What tip speed is and how to calculate it
Tip speed is the linear velocity of the outer edge of the disperser blade. It is the single most useful number for describing how hard a saw-tooth blade is working, because the shear zone that wets and deagglomerates powder sits right at that edge.
Tip speed (m/s) = π × blade diameter (m) × rpm ÷ 60
Turned around, the shaft speed needed for a target tip speed is rpm = 60 × tip speed ÷ (π × blade diameter). Imperial specifications are often given in feet per minute; 1 m/s is about 197 ft/min.
| Blade diameter | rpm for 5 m/s | rpm for 10 m/s | rpm for 15 m/s |
|---|---|---|---|
| 50 mm (lab) | ~1,910 | ~3,820 | ~5,730 |
| 100 mm (pilot) | ~955 | ~1,910 | ~2,865 |
| 300 mm (production) | ~318 | ~637 | ~955 |
| 500 mm (production) | ~191 | ~382 | ~573 |
The table shows the trap. A lab operator who runs "3,000 rpm" on a 50 mm blade is at about 7.9 m/s. Copy "3,000 rpm" to a 100 mm pilot blade and the tip speed doubles to about 15.7 m/s. The opposite happens in production: a large blade turning a few hundred rpm can be working just as hard as a small lab blade spinning at several thousand. Write batch instructions in m/s (or ft/min), and give the rpm for each machine as a derived value.
Typical tip speed windows by process stage
A matting batch passes through stages that need different energy. Running the whole batch at one speed tends to cause either dusting and lumps at the start, or foam and heat at the end. The ranges below are general industry starting points for saw-tooth dispersers in waterborne coatings, not universal rules. Confirm them in your own base with the time study described later.
| Stage | Typical tip speed | Goal | What to watch |
|---|---|---|---|
| Powder incorporation | Low to moderate, ~4–8 m/s, rising as the batch thickens | Draw powder into the vortex without dusting or floating rafts | Add gradually; keep a rolling flow with the blade just visible |
| Deagglomeration of matting silica | Moderate, often ~10–18 m/s | Break soft agglomerates; complete wetting of pores | Foam, temperature rise, gloss versus standard |
| Pigment grind (for comparison) | Higher, often high teens to mid-20s m/s | Develop colour strength and fineness | Not usually needed for matting silica alone |
| Binder letdown and additions | Low, ~3–6 m/s | Mix without shear damage or air entrainment | Resin shock, coalescent addition rate, foam |
Two points are worth stressing. First, higher is not better for matting silica: once agglomerates are gone, extra energy only heats the batch, entrains air and, in the extreme, damages surface treatment and lowers matting efficiency. Second, the deagglomeration window you settle on should be the lowest tip speed that consistently reaches your fineness and gloss targets in the set time. That gives you headroom when a batch is slightly thicker or colder than normal.
Dispersion time: when the clock starts and how to set it
Tip speed and time work together. A useful way to think about it is energy input: power drawn by the motor multiplied by time, divided by batch mass. Doubling time at the same speed roughly doubles the energy, and so does a large increase in viscosity at the same speed. That is why a time instruction without a tip speed, or a tip speed without a viscosity range, is incomplete.
Define the start point
The most common source of batch-to-batch variation is ambiguity about when dispersion time begins. Write it down explicitly: the clock starts when the last of the matting agent has been incorporated and the disperser has reached the set tip speed. Time spent adding powder does not count, because during incorporation much of the silica has not yet reached the shear zone.
Run a time study
- Make a single base batch and split it into five equal portions at the same matting agent level.
- Disperse each portion at one fixed tip speed for 5, 10, 15, 20 and 30 minutes.
- Record the batch temperature at the end of each run.
- Read fineness (Hegman, ISO 1524 / ASTM D1210) and viscosity at a fixed time after dispersion.
- Draw down at the target film thickness and measure 60° and 85° gloss after full cure.
- Plot gloss against time. Choose the point where gloss and fineness have levelled off, and check that the 30-minute sample has not drifted back up.
If time permits, repeat at a second tip speed a few m/s higher or lower. Two curves tell you how forgiving the formula is. A broad, flat plateau means operator variation will hardly affect gloss; a steep curve means the instruction must be followed tightly. For reliable gloss readings on low-sheen panels, see how to measure gloss correctly on matte panels.
Geometry and viscosity: why the same tip speed behaves differently
Tip speed only describes the blade. Whether that energy reaches the powder depends on the flow pattern in the vessel, which is governed by geometry and viscosity. Common guidelines from dispersion practice are:
- Vessel diameter about 2–3 times the blade diameter. Larger vessels leave dead zones near the wall.
- Blade height about 0.5–1 blade diameter above the vessel bottom.
- Liquid depth about 1–2 blade diameters. Shallow batches pull air into the vortex; deep batches leave the upper layer stagnant.
- Flow pattern: a rolling "doughnut" with a small vortex where the blade is just visible. A deep, open vortex means air is being whipped in; a flat, motionless surface means the material is not turning over.
Viscosity matters as much as speed. In a very thin base, the blade slips through the liquid; energy turns into turbulence and foam rather than shear on the agglomerates. In a very thick base, the batch moves only near the blade and the rest of the vessel stalls. Many plants therefore disperse matting silica at a moderate working viscosity, for example in the grind stage with part of the binder or a rheology additive present, and add the main thickener after the silica is fully wetted. Porous silica keeps taking up liquid for some minutes, so viscosity readings taken immediately after dispersion will be lower than readings taken later; always measure at a fixed interval.
Scaling high speed disperser tip speed from lab to production
Scale-up is where most settings go wrong. Keeping tip speed constant is the right first step, but it is not the whole story.
| Factor | What changes at larger scale | How to handle it |
|---|---|---|
| Tip speed | Same m/s needs much lower rpm on a larger blade | Specify m/s; list derived rpm per machine |
| Geometry ratios | Production tanks are often wider or fuller than the lab equivalent | Keep vessel/blade, height and depth ratios close to the lab set-up |
| Batch turnover | Lower rpm means fewer passes of material through the shear zone per minute | Expect to verify, and sometimes extend, dispersion time in the first production batches |
| Temperature | Large batches lose heat more slowly and can run warmer | Log start and end temperature; set a maximum based on binder supplier guidance |
| Powder addition | Bags go in faster than a lab spatula, creating dry lumps | Specify addition rate or time; use a sifting screen or powder induction where available |
A practical approach is to treat the first two or three production batches as confirmation runs: take samples at intervals during dispersion, check fineness and drawdown gloss against the lab standard, and fix the production time from those results. Recording motor power or current alongside time gives a further reference, since energy input per kilogram tends to transfer more faithfully than time alone.
Signs your disperser settings are wrong
| Symptom | Likely setting problem | Adjustment |
|---|---|---|
| Seeds or specks; streaks on the Hegman gauge | Tip speed too low, time too short, or powder added faster than the vortex can take it | Slow the addition; confirm the clock start point; raise tip speed modestly |
| Gloss above standard | Under-dispersion, or matting agent settled in the tank before sampling | Check time and tip speed; stir the tank before sampling |
| Gloss rises with longer dispersion | Over-dispersion degrading particles or surface treatment | Shorten time or lower tip speed; cap both in the instruction |
| Foam and microbubbles | Base too thin, blade too high, open vortex | Disperse at higher working viscosity; lower the blade; add part of the defoamer before the powder |
| Batch running hot | Excess energy: speed, time or viscosity too high | Reduce tip speed; check viscosity; consider cooling for large batches |
| Gloss varies between shifts | Settings recorded as dial positions or rpm, not tip speed | Rewrite instructions in m/s with a defined start point |
For defects with other root causes, such as whitening at high humidity or hard sediment, see the matting agent troubleshooting guide.
How Censilcoat grades fit
All seven Censilcoat grades are wax-modified amorphous precipitated silicas supplied at their working particle size. They are designed for high-speed dispersion for 15–20 minutes, with no bead milling required, so they suit the moderate tip-speed window above rather than a pigment-grind regime. Every grade has a pore volume of 1.6–1.8 mL/g and a surface area of 250–280 m²/g, and typical dosage is 1–4% on total formulation.
| Grade | d50 (μm) | Typical use |
|---|---|---|
| Censil660 | 5.0–5.3 | High-clarity water-white clear topcoats |
| Censil651 | 4.9–5.2 | Fine touch, smooth high-clarity clears |
| Censil351C | 4.8–5.1 | Fine universal grade |
| Censil361C | 5.9–6.2 | Universal semi-matte to matte workhorse |
| Censil1531D | 5.3–5.6 | Cost-optimised transition grade |
| Censil1650A | 6.2–6.5 | Deep matte for premium plastics and tactile furniture |
| Censil3851 | 8.5–9.0 | Extreme low gloss, hard plastic surfaces |
When you replace an imported grade, keep tip speed, time and the clock start point exactly as in your current batch instruction for the first trial, so any gloss difference comes from the silica and not the process. The OK 412 alternative and ED 4 alternative pages show the corresponding benchmarks. Full specifications are on the products page, and the solutions page maps grades to resin system and gloss target. Samples are free (2 kg), MOQ is 500 kg, and product ships in 20 kg bags.